Chapter 3-16: Using GUI Features of the Image Editor |
Painting Buttons, Labels, Pictures, and Boxes or Lines You can add buttons, labels, pictures, lines and boxes to your image by using the GUI features of the Image Editor. To learn more about using ILF statements to control the display of pictures, see the PICTURE statement in ILF Keyword Reference. To add buttons, labels, pictures, lines or boxes to an image, you follow the same basic steps: Select the Icon Select the icon from the Image Editor tool bar that corresponds to the graphic you want to paint on the image.
Select the Region Select the region in which you want to place the graphic. Using the mouse, position the pointer to the upper leftmost corner of the intended region. Click the left mouse button and hold, and start dragging the pointer to the lower right most corner of the region. This should create the outline of a box on the image, as shown below Release the mouse button when the region is outlined approximately where you want the graphic to appear, as shown further below. You can always make fine adjustments later. When defining the region for lines or boxes, the end of the region must be the same row for lines and a subsequent row for boxes. For boxes, you cannot begin in column 1 or end in the last column of your image. Define the Graphic Define the graphic by filling in the overlay that appears. The overlays are different depending on the graphic you are adding. See the appropriate topic (Painting Buttons, Painting Labels, Painting Pictures, or Painting Boxes or Lines) for specifics on defining a particular graphic.
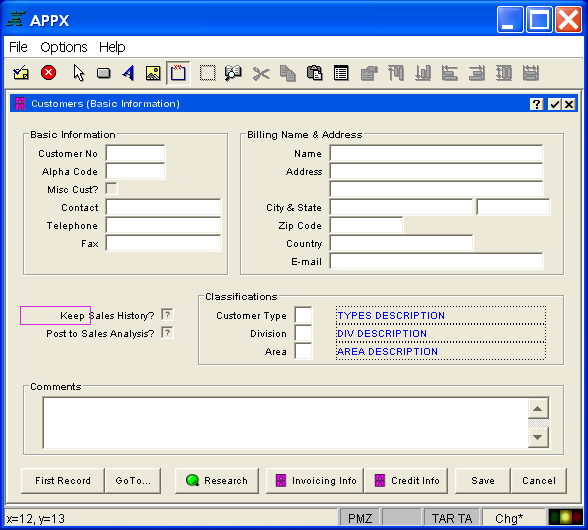
Selecting a Graphics Region (Part 1)
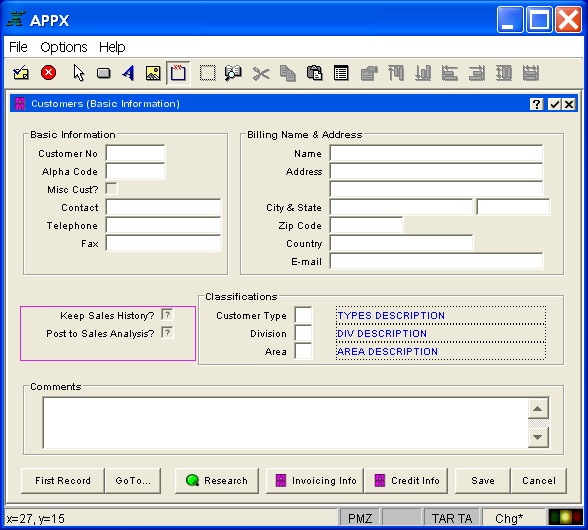
Selecting a Graphics Region (Part 2) |
Application Design Manual "Powered by Appx Software"447 ©2006 By APPX Software, Inc. All Rights Reserved |